Introduction
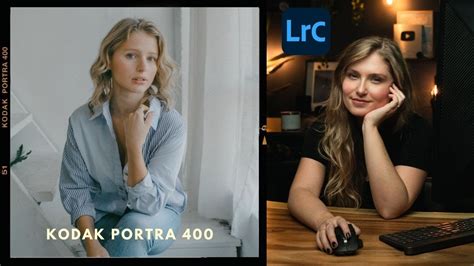
Fortre 400 is a popular color negative film stock known for its smooth and natural skin tones, medium contrast, and fine grain. If you’ve been on Instagram, you’ve likely seen photos with a Portrait 400 look or people trying to replicate it. In this blog post, we’ll explore how to create a similar aesthetic using Lightroom.
Let’s delve into the key points for achieving the Portrait 400 look:
Dynamic Range and Tone Adjustment
To emulate the dynamic range of Portrait 400, start by muting the highlights and raising the shadows to create a flat image. Lower the contrast and texture while also flattening the whites to achieve a softer, low-contrast look. The goal is to smooth out the image for a film-like appearance.
Color Adjustments with HSL Panel
Focus on adjusting the colors to match the tones of Portrait 400. Desaturate the reds and shift them towards orange for natural skin tones. Reduce saturation in yellows to enhance warmer tones. Adjust greens towards aqua or blue hues, desaturate them, and lower luminance for a muted look. Fine-tune other colors like blues and aquas to maintain a cozy vibe in the image.
Adding Grain and Final Touches
Portrait 400 film stock has a smooth grain that adds to its appeal. Add a subtle amount of grain to your image to replicate this characteristic. Adjust dehaze, exposure, and split toning to enhance the overall look. Use split toning to bring out greens in shadows and add subtle pink or blue tones to highlights for a creamy effect.
Conclusion
By following these steps and making adjustments based on your photo’s lighting and content, you can achieve a beautiful Portrait 400 look in your images. Remember, editing styles may vary, so feel free to tweak the settings to suit your preferences and the specific characteristics of each photograph.
Now, let’s move on to some questions related to the topic:
1. How can you replicate the dynamic range of Portrait 400 in your images?
To replicate the dynamic range of Portrait 400, start by muting the highlights, raising the shadows, lowering contrast and texture, and flattening the whites to achieve a soft, low-contrast look.
2. What are some key color adjustments to make in the HSL panel for a Portrait 400 aesthetic?
In the HSL panel, desaturate reds and shift them towards orange for natural skin tones. Desaturate yellows to enhance warm tones, adjust greens towards aqua or blue hues, and fine-tune blues and aquas while maintaining a cozy vibe in the image.
3. How can you add grain to your photos to replicate the smooth grain characteristic of Portrait 400 film stock?
To replicate the smooth grain of Portrait 400, add a subtle amount of grain to your images. Aim for a grain amount and size around 20 to 30, with a roughness of around 50 for a natural look.
4. What role does split toning play in achieving the Portrait 400 look, and how should it be applied?
Split toning helps bring out greens in shadows and adds subtle pink or blue tones to highlights for a creamy effect in Portrait 400-style images. Select a light greeny blue for shadows and a pink or blue tone for highlights or mid-tones, adjusting the balance accordingly.
5. Why is it important to make adjustments based on individual photos and lighting conditions when aiming for a Portrait 400 look?
Making adjustments based on individual photos and lighting conditions is crucial because one size rarely fits all in editing styles. By tweaking settings according to the specific characteristics of each photograph, you can achieve a personalized and authentic Portrait 400 aesthetic.